Generated with Monsha
Save this resource to edit, expand, or export it, or create more resources for free.
Our Names Our Stories Lesson Plans — Kindergarten Literacy (First Week Activities)
Anything
Kindergarten
English
Our Names Our Stories Lesson Plans — Kindergarten Literacy (First Week Activities)
Unit Overview: Our Names, Our Stories
This unit is designed for the very first week of Kindergarten. It focuses on the most important word in a child's world: their name. Through these five lessons, students will build phonological awareness, letter recognition, fine motor skills, and a sense of classroom community.
Day 1: Names are Words
Objective: Students will understand that their name is a special word made of letters.
Materials:
- Name cards (pre-written or printed in large, clear font)
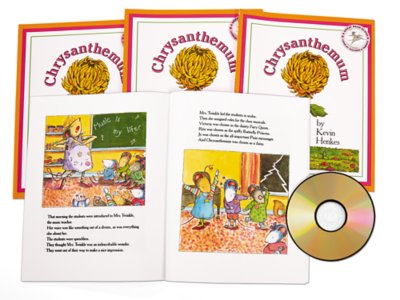
- The book Chrysanthemum by Kevin Henkes (or similar name-themed book)
- Small counting items (buttons, cubes, or even just fingers)
10-Minute Mini-Lesson: Read-Aloud
Gather students in a circle. Introduce the book Chrysanthemum. Discuss how everyone has a name that is special to them. Explain that names are made of letters, just like the words in the book.
15-Minute Hands-On Activity: Counting Letters
- Pass out the pre-made name cards.
- Ask students to point to each letter in their name as you "read" it together.
- Have students count how many letters are in their name using their fingers or small cubes.
- Partner Share: Turn to a neighbor and show them your name card while saying, "My name has [Number] letters."
5-Minute Closing Circle
Go around the circle and have each student say their name clearly while holding up their card. The class responds, "Hello, [Name]!"
Differentiation:
- Support: Provide a name card with dots under each letter to help with one-to-one correspondence while counting.
- Stretch: Ask students to find a friend who has the same number of letters in their name.
Day 2: First-Letter Focus
Objective: Students will identify the first letter of their name and recognize it in the classroom environment.
Materials:
- Student name cards (from Day 1)
- Large alphabet posters or hidden letter cut-outs
10-Minute Mini-Lesson: The "Big" Letter
Show a few name cards. Point out the very first letter (the capital letter). Explain that this is the "leader" letter of their name. Practice saying the names of the letters together (e.g., "S is for Sam").
15-Minute Hands-On Activity: Letter Hunt
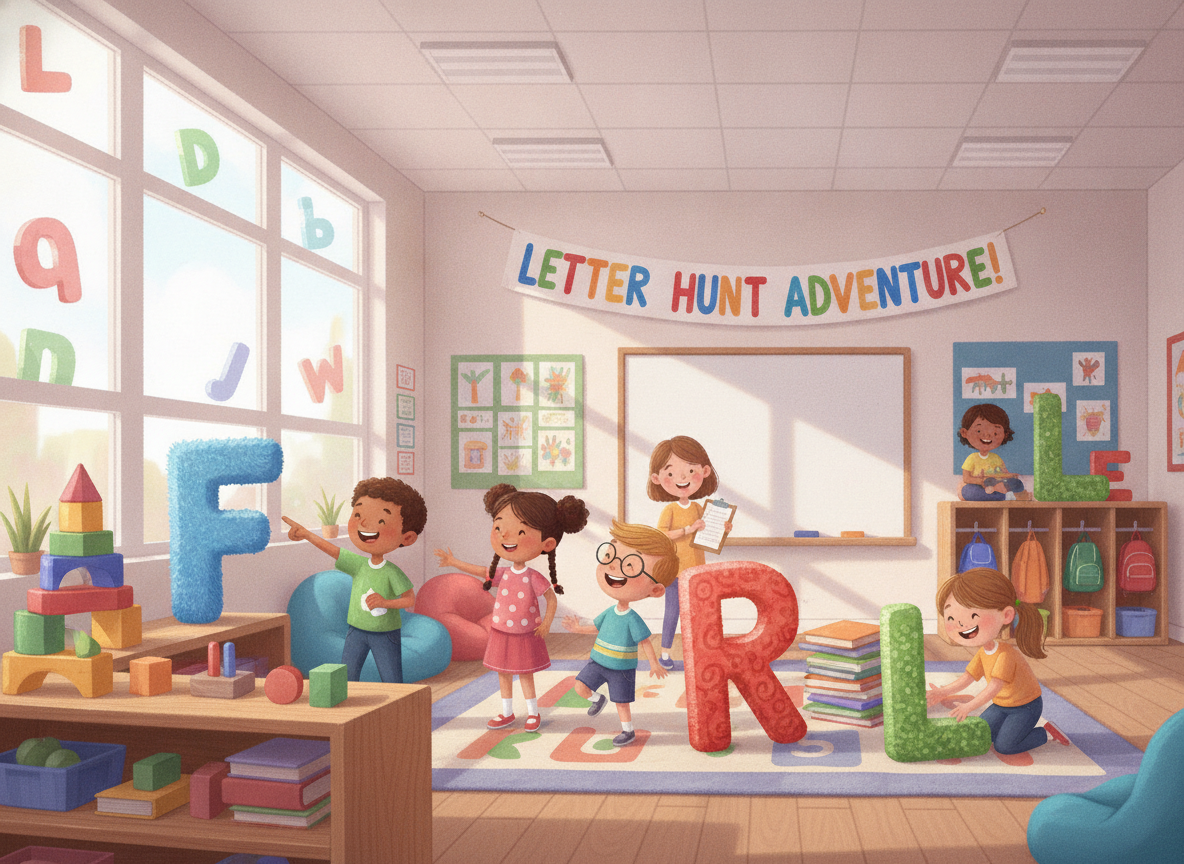
Hide large, colorful letters around the room (or point to them on existing posters). Have students take their name cards and go on a "Hunt" to find the letter that matches the first letter of their name.
5-Minute Closing Circle
Students sit in the circle. Each student holds up their card and says, "My name starts with [Letter Name]!"
Differentiation:
- Support: Give the student a smaller "matching card" that has only their first letter on it to carry during the hunt.
- Stretch: Encourage students to find one other object in the room that starts with their same letter (e.g., "B is for Ben and Book").
Day 3: Rhyme Time and Syllables
Objective: Students will explore the sounds in their names by clapping syllables and creating simple rhymes.
Materials:
- No materials needed (Just voices and hands!)
10-Minute Mini-Lesson: Clapping Parts
Explain that words have "beats" or parts called syllables. Model clapping your own name (e.g., Mrs. Smith = 3 claps). Have the class practice together with a few well-known words like "apple" or "dinosaur."
15-Minute Hands-On Activity: The Name Game
- Syllable Clap: One by one, have students say their name while the whole class claps the syllables. "A-li-cia" (3 claps).
- Silly Rhymes: Practice making silly rhymes with names. "Ben, Ben, bo-ben..." or "Sam, Ham, Jam." Emphasize that we are just playing with sounds.
5-Minute Closing Circle
Play a "Quiet Syllable" game. The teacher says a name. If that name has 1 syllable, students touch their head. If it has 2, they touch their shoulders. If it has 3, they touch their knees.
Differentiation:
- Support: Use a drum or rhythm sticks to make the "beat" of the syllables more tactile/auditory.
- Stretch: Ask students to think of a real word (not a silly word) that rhymes with a simple name (e.g., "What rhymes with Jen?" ... "Pen!").
Day 4: Writing Our Names
Objective: Students will practice proper pencil grip and use creative materials to form the letters of their name.
Materials:
- Paper with student names written in large, light gray font (for tracing)
- Crayons, markers, stickers, or glitter glue
- "Pinchy Bird" visual for pencil grip
10-Minute Mini-Lesson: The Pinchy Bird
Demonstrate the "Pinchy Bird" grip (using the thumb and index finger to pinch the crayon). Have students practice "pinching" the air before picking up their crayons. Show them how to follow the lines of the letters on their paper.
15-Minute Hands-On Activity: Name Art
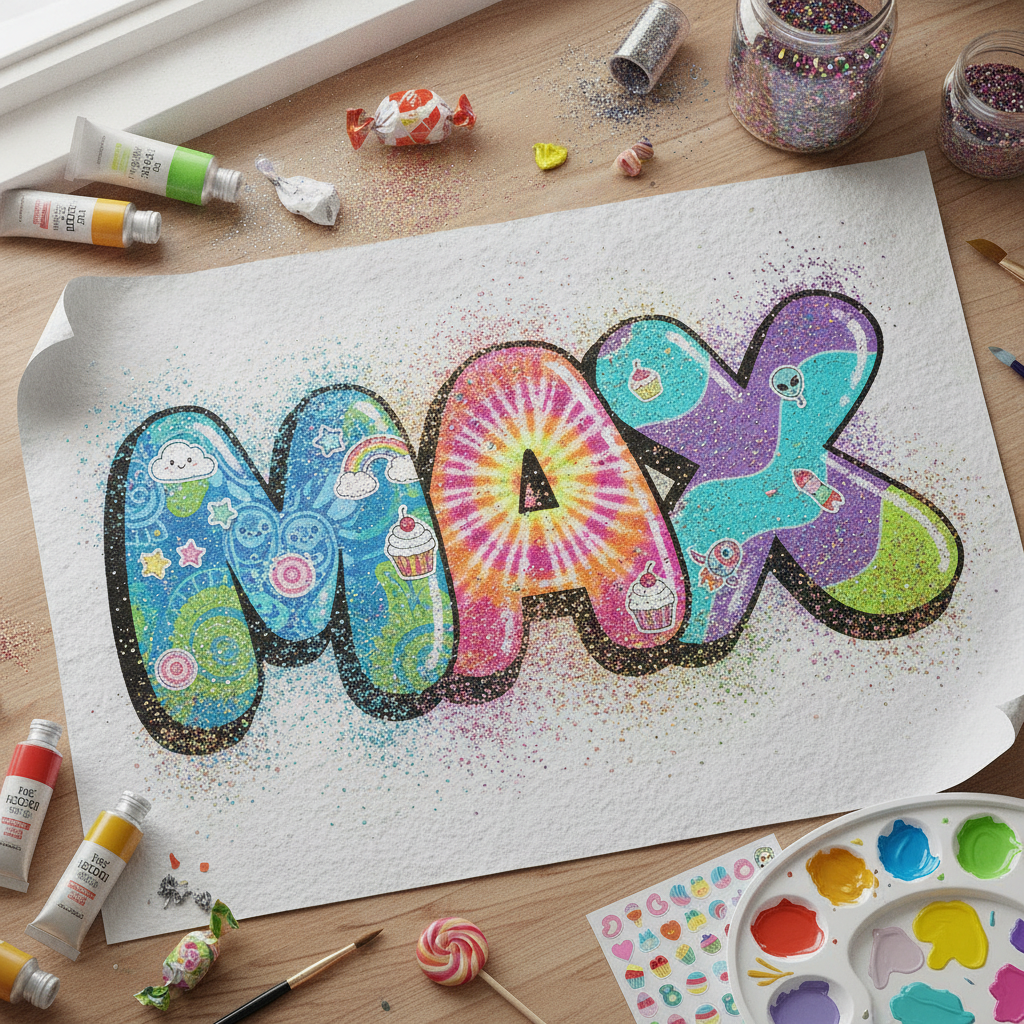
Students trace their names carefully using the "Pinchy Bird" grip. Once traced, they can decorate their name art using colorful markers, stickers, or patterns.
5-Minute Closing Circle
Have students hold their art up and "air write" their first letter in the sky using a giant finger-move.
Differentiation:
- Support: Use a highlighter to write the name very thickly so the student has a larger target for tracing.
- Stretch: Ask the student to try writing their name one time at the bottom of the page without any tracing lines.
Day 5: Sharing Our Stories
Objective: Students will build confidence by "reading" their name art and contributing to a collective classroom display.
Materials:
- Finished Name Art (from Day 4)
- Tape or staples for the wall
- A "special chair" for sharing
10-Minute Mini-Lesson: We Are Authors
Explain that because they wrote and decorated their names, they are authors and artists! Discuss how every person in the class is part of one big story.
15-Minute Hands-On Activity: The Name Gallery
- Sharing Time: Each student sits in the "special chair" for 30 seconds. They show their art and say, "My name is [Name], and I decorated it with [one detail]."
- The Name Wall: As students finish sharing, help them tape their art to a designated "Our Class" wall.
5-Minute Closing Circle
Stand in front of the new Name Wall. Do a final "Class Cheer." Teacher says, "Who is special?" and students point to their names on the wall and shout, "I AM!"
Differentiation:
- Support: Allow the student to simply point to their name while the teacher says it, if they are feeling shy.
- Stretch: Ask the student to identify one letter in a friend's name on the wall that is the same as a letter in their own name.